
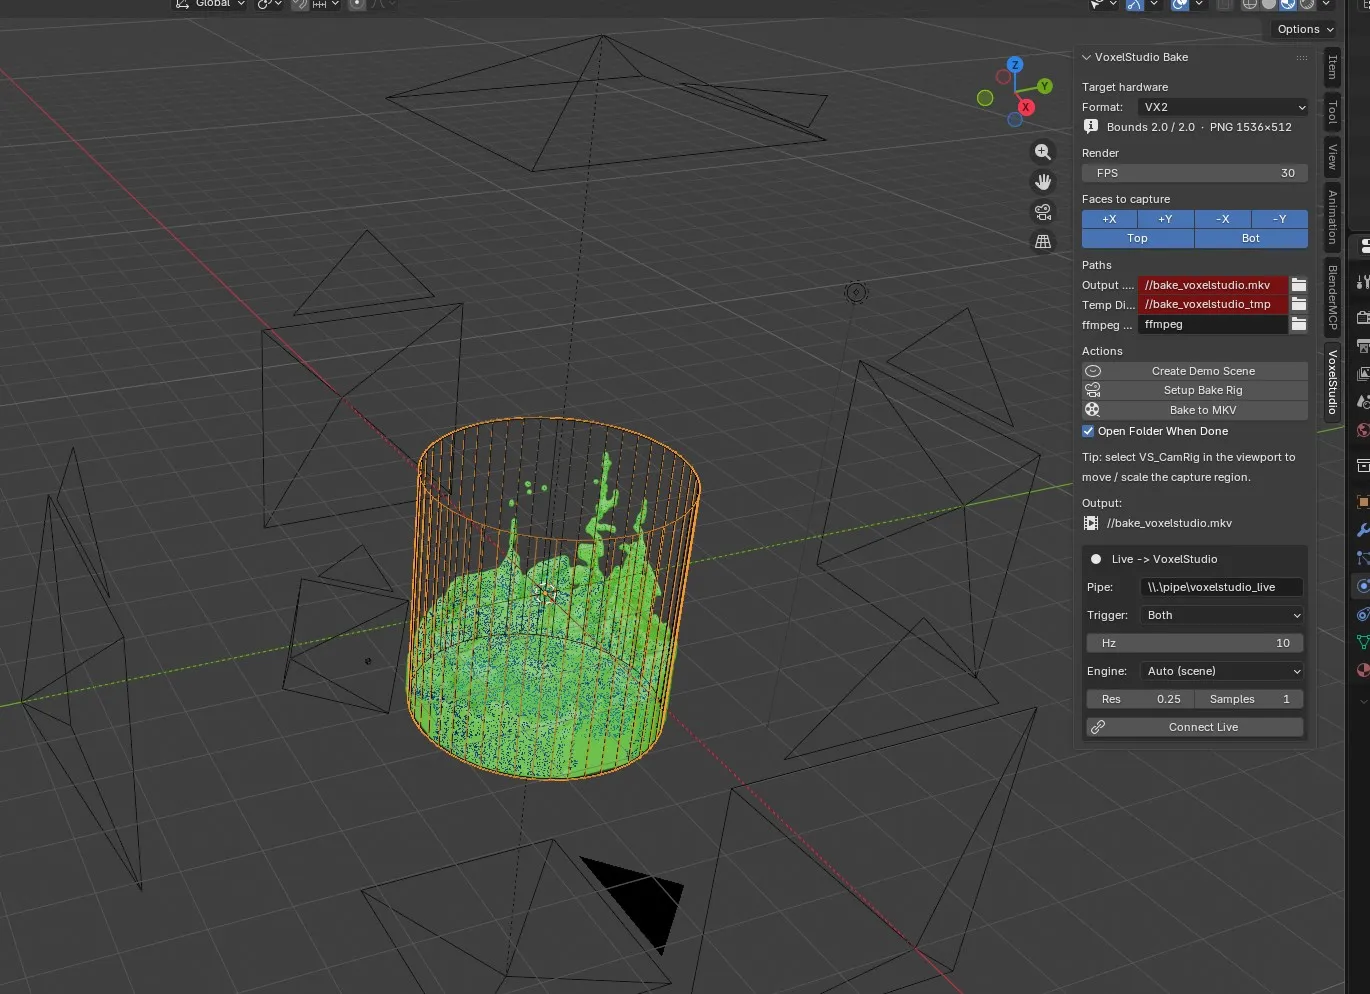
Bake a Blender scene into VoxelStudio's depth-map .mkv format, then play it back as a volumetric scene on a Voxel display. Requires Blender 5.1 or newer.
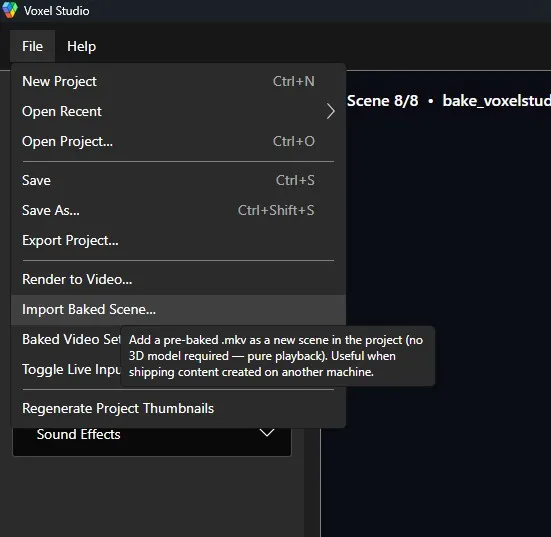
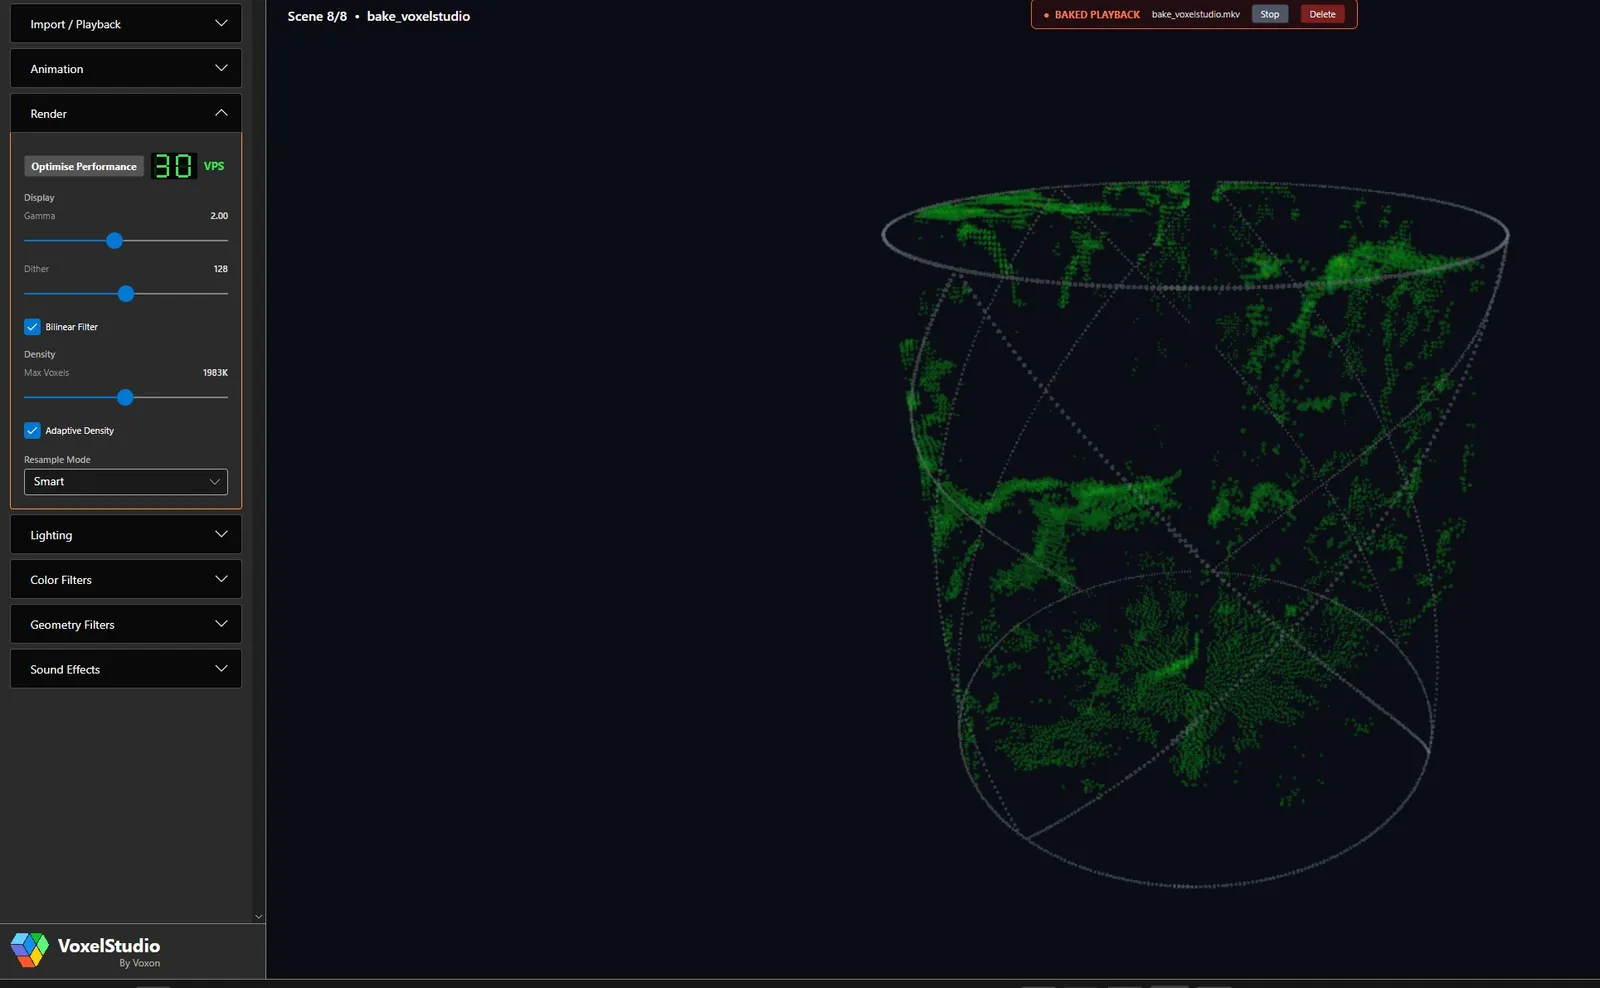
Bake a Blender scene into VoxelStudio's depth-map .mkv format. The baked file is opened in VoxelStudio via File → Import Baked Scene… and plays back as a volumetric scene on a Voxel display.
| Requirement | Notes |
|---|---|
| Blender 5.1+ | Blender 5.1 and newer are supported. |
| ffmpeg | Required for baking. Must be on your PATH, or point the add-on's ffmpeg Path field at ffmpeg.exe. |
| VoxelStudio | To import the baked .mkv. |
Install ffmpeg on Windows:
winget install --id Gyan.FFmpegRestart Blender afterward so the new PATH takes effect. Verify with ffmpeg -version in a terminal.
voxelstudio_bake.py and click Install Add-on.You'll then have two entry points, both with the same actions:
N → "VoxelStudio" tab — the main panel (settings + buttons).Quick iteration alternative: open the file in Blender's Text Editor and Run Script (Alt+P) for a session-only install that re-registers on each run. Re-opening Blender reverts it.
.blend first. The default output paths use Blender's // (relative-to-blend) prefix, so a saved location is required.N in the 3D Viewport)..mkv into VoxelStudio.All settings live on the scene and are saved with the .blend.
| Setting | Meaning |
|---|---|
| Format | Target Voxel hardware. VX2 = square volume, 256×256 per face, 1536×512 frame, bounds 2·2·2. VX2-XL = wide volume, 512×256 sides + 512×512 top/bot, 3072×1024 frame, bounds 4·4·2. VoxelStudio auto-detects the format from the imported frame size. |
| FPS | Output video frame rate. Match it to your scene's fps. |
| Output .mkv | Destination file. // = relative to the .blend. |
| Temp Directory | Working folder for intermediate renders. Safe to delete after a bake. |
| ffmpeg Path | Leave as ffmpeg to use your PATH, or set an absolute path to ffmpeg.exe. |
| Faces to capture | Six toggles (+X, +Y, −X, −Y, Top, Bot). Disabling a face skips its render entirely — up to a 6× speedup when only some faces matter (e.g. a flat billboard that only needs +Y). Skipped faces read as empty in VoxelStudio. |
| Open Folder When Done | After a successful bake, open the output folder in your file browser with the .mkv selected. On by default. |
Render engine & samples come from your normal Blender settings (Properties → Render). The bake respects whatever engine you've chosen. EEVEE is dramatically faster than Cycles and the voxel display can't tell the difference, so prefer EEVEE unless you specifically want path-traced lighting baked into the colour.
The capture volume is centred on the VS_CamRig empty. Select it in the viewport to move / scale where the bake samples. Geometry must sit within ±bounds (see Format) or it's clipped. The 6 cameras sit further out as a visual gauge.
The bake runs modally so Blender stays responsive:
Frame 6/20 · VS_CamPosX.[Esc to cancel] hint.Esc (with the mouse over the 3D Viewport) to cancel cleanly — your render resolution and settings are restored.The system console (Window → Toggle System Console on Windows) still prints per-face progress and full error tracebacks if anything goes wrong.
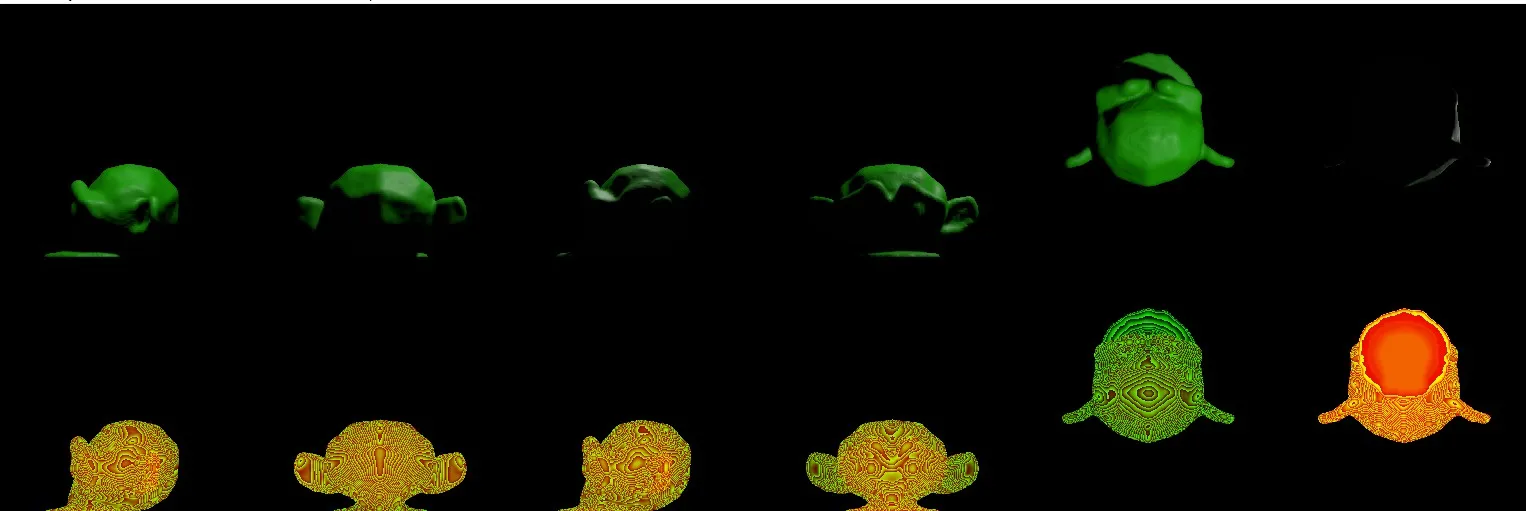
.mkv → Open.If the geometry plays back upright and in the right place, your pipeline works end to end. You can preview the raw .mkv in VLC — it looks like a 6-up colour strip stacked over a 6-up depth strip.
voxelstudio_bake.py.For rapid iteration, Run Script (Alt+P) on the new file in the Text Editor — it unregisters any prior version and re-registers immediately.
Explore the VX2 and VX2-XL, try the live simulator, or talk to us about your use case.